User Docs
Here is the in-depth user documentation for Multinet. This documentation is intended to be a comprehensive guide to all of Multinet’s features. If you’re looking for a quick start guide, see Quick Start Guide.
Log In
All operations that mutate data inside Multinet require authentication. This is a security measure to ensure that only authorized users can modify data, and to ensure that all changes to data are tracked. Multinet uses Google OAuth2 for authentication, which means that you can use your Google account to log in to Multinet. If you do not have a Google account, you can create one for free at Google. Our authentication system ensures that data in your workspaces is only accessible to you and the people you choose to share it with. To log in,
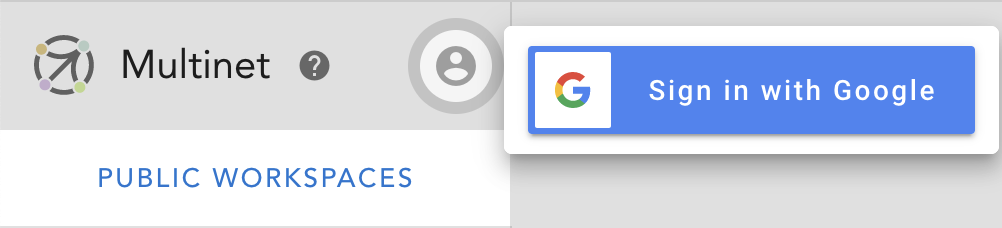
1. Click on the person icon next to the multinet logo in the top left corner of the page.

2. Then click the popover menu button ‘Sign in with Google’. This will direct you to a Google login page.
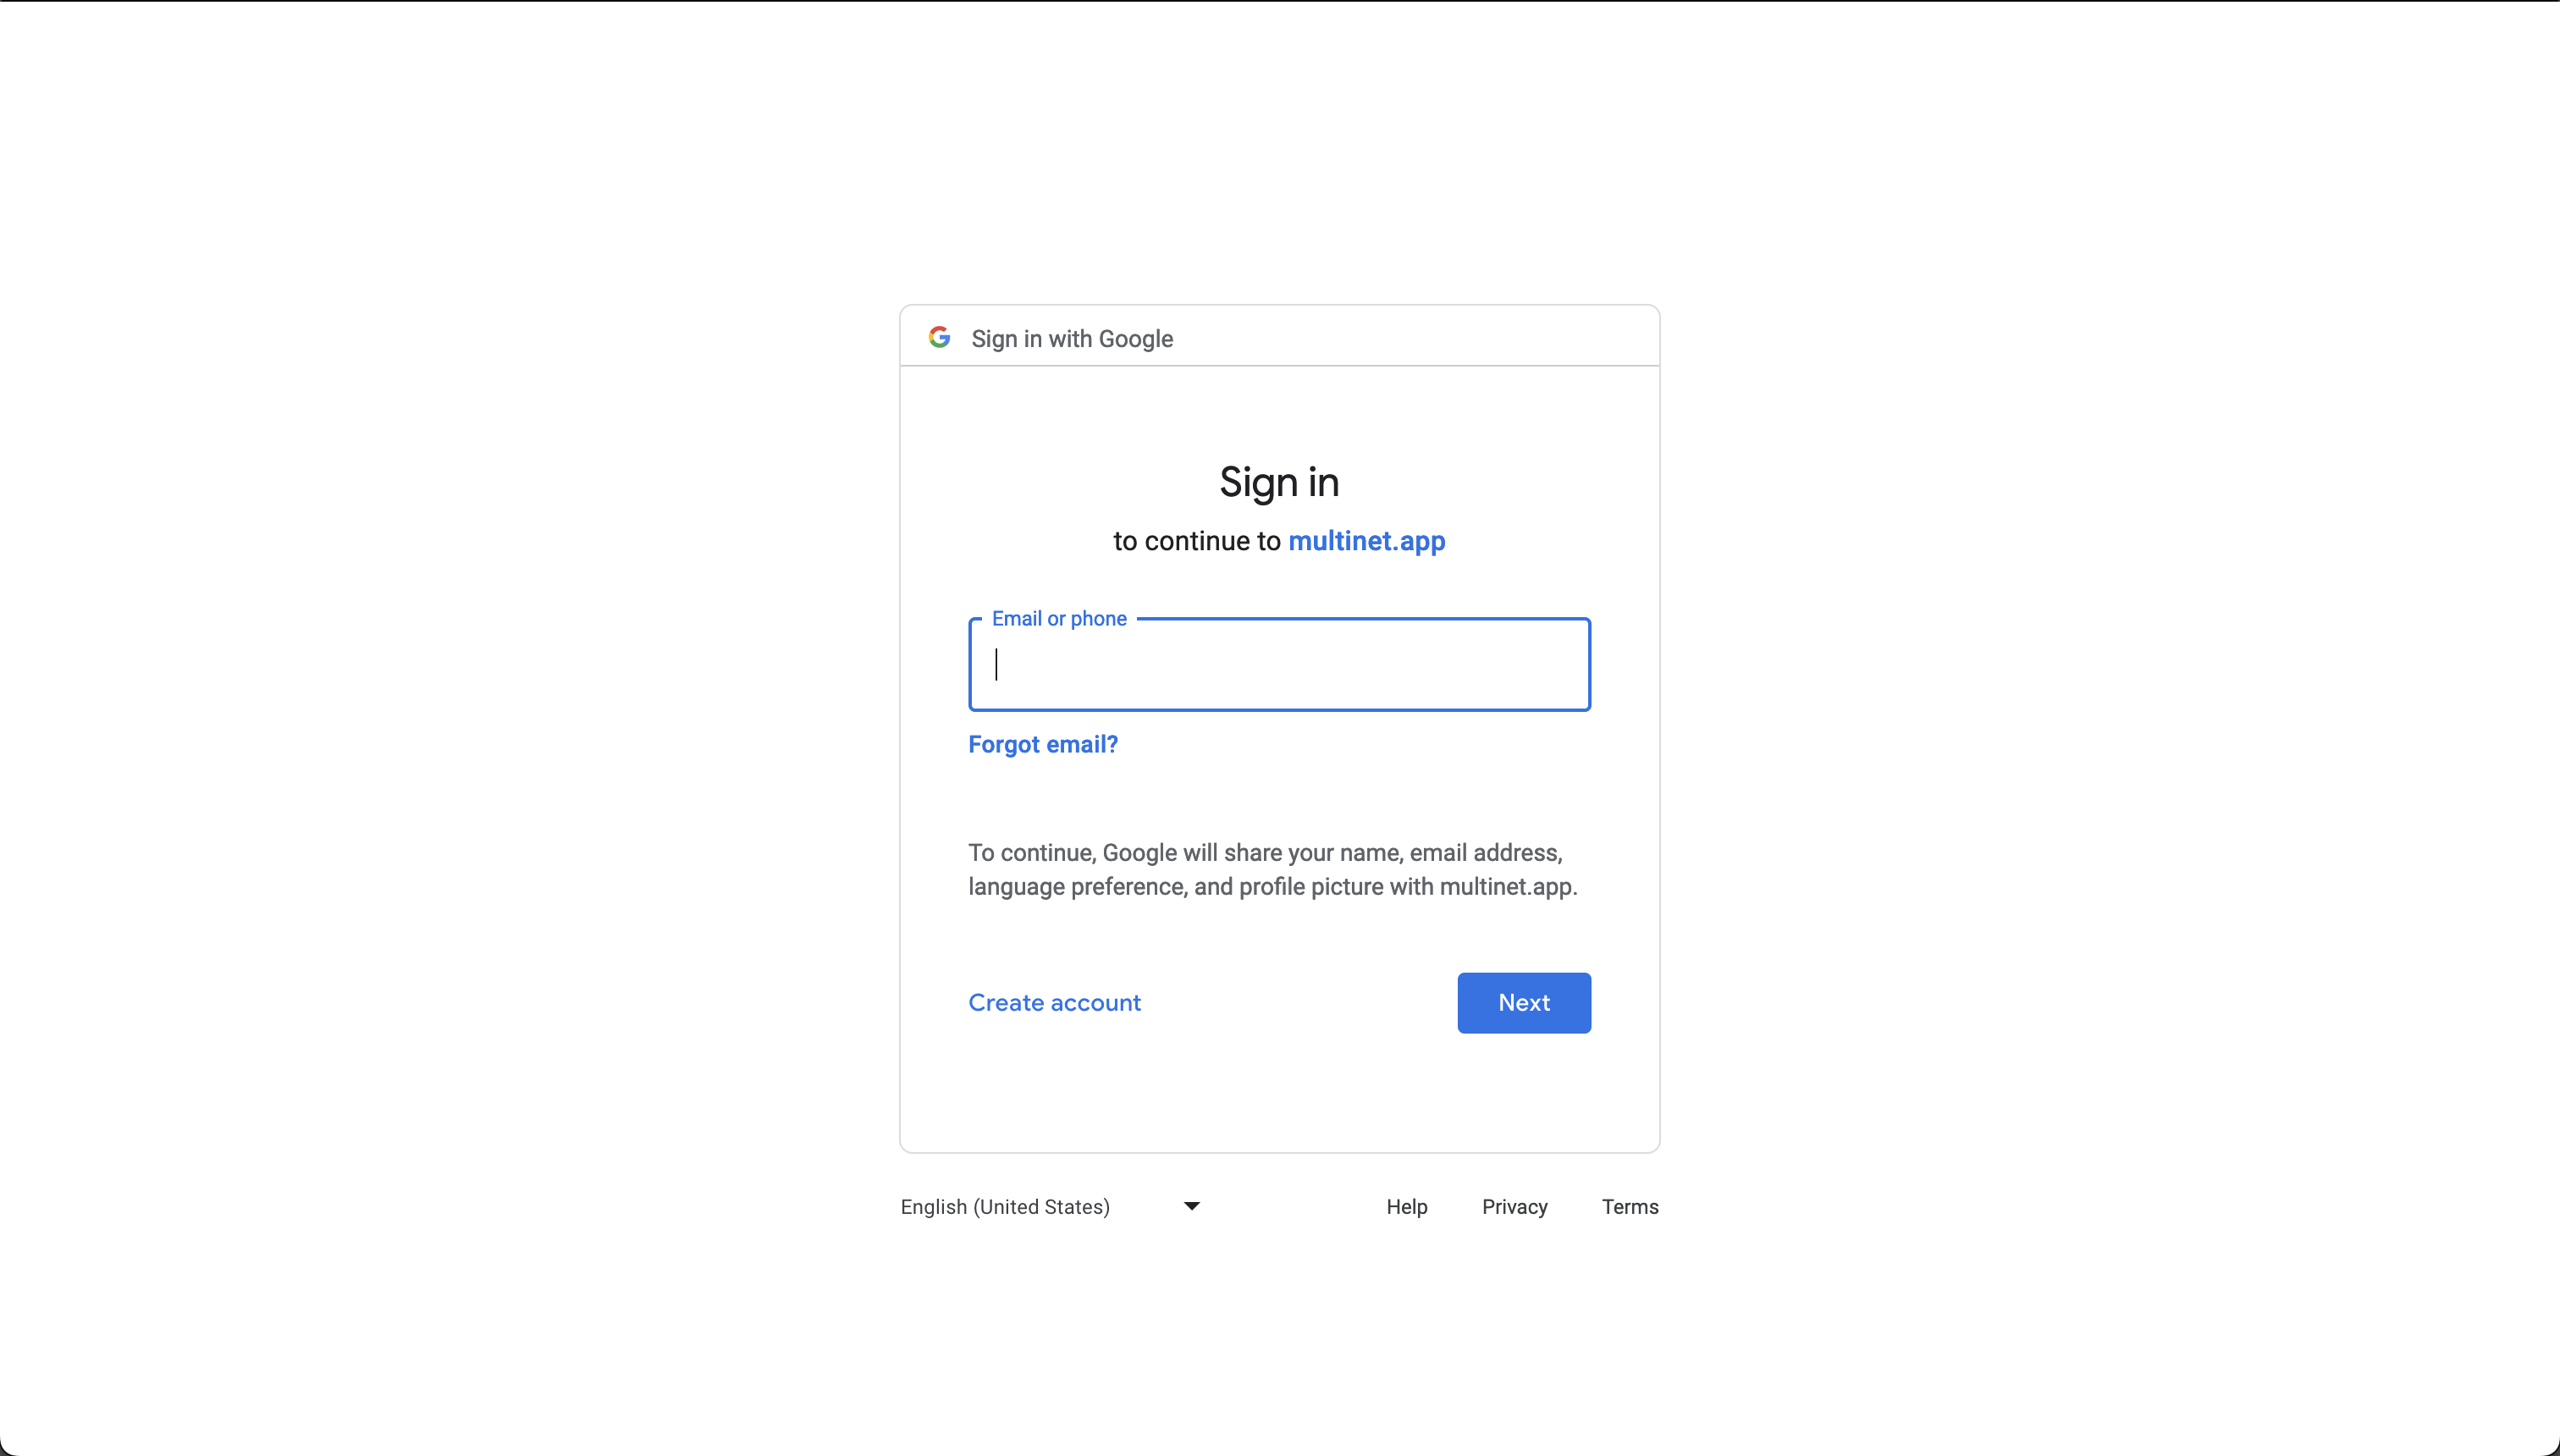
3. Enter your Google credentials and click ‘Sign in’.
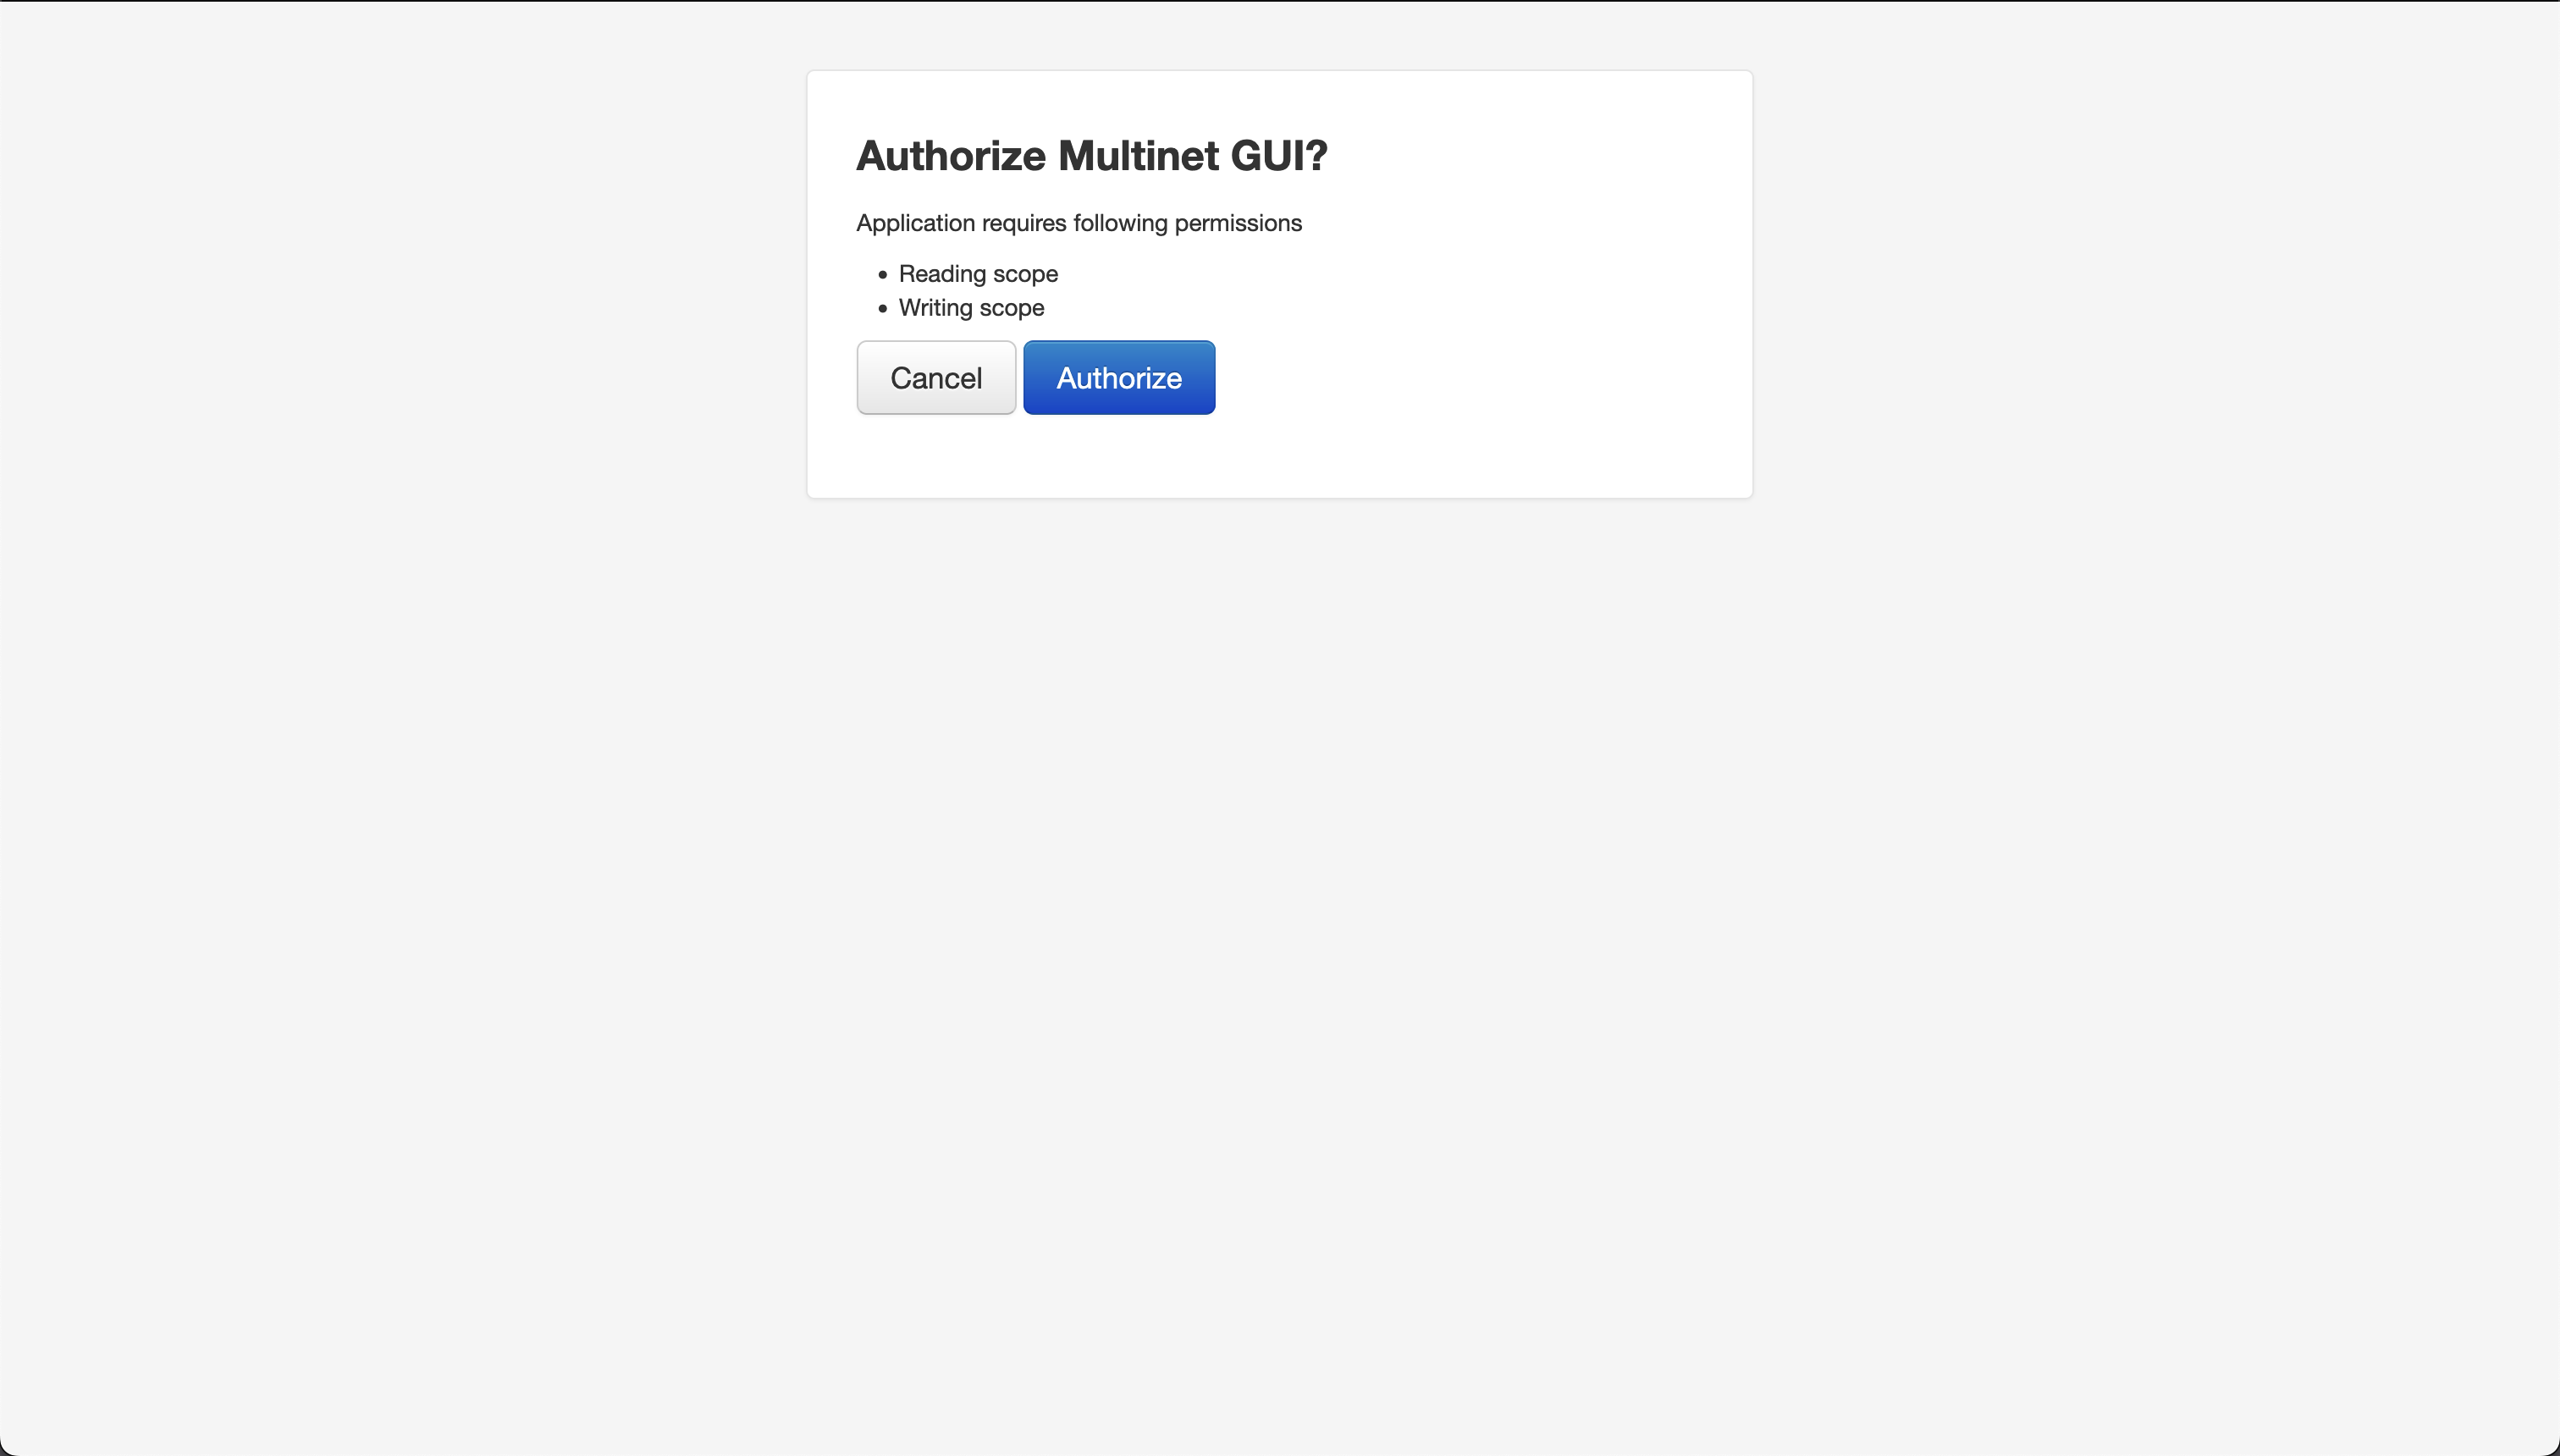
4. If you have not logged in to Multinet before, you will be asked to authorize Multinet to access your Google account. Click ‘Authorize’.
5. You will then be redirected back to Multinet where you should see your initials where the person icon was. This indicates that you are logged in.
Create Workspace
Multinet structures all the data it hosts into workspaces. A workspace can hold several tables of data, as well as several networks assembled from those tables. Think of a workspace as a dedicated area for related data to be stored. To create a workspace,
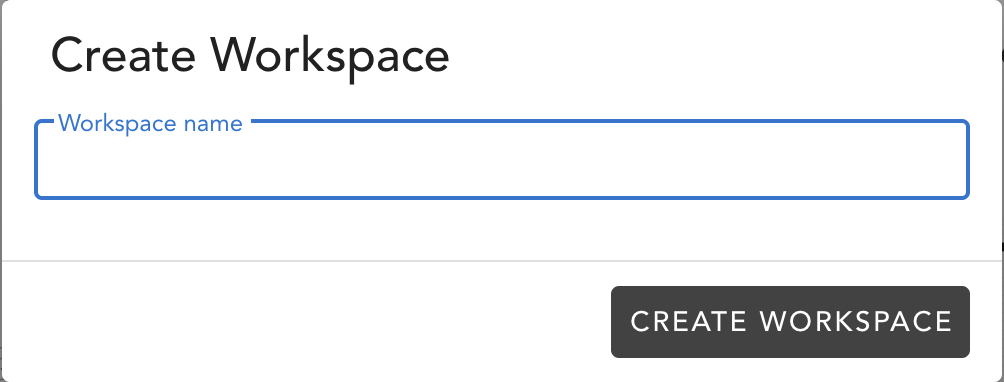
1. Click the NEW WORKSPACE button appearing near the top of the left
sidebar. A dialog box will appear asking for the name of the new workspace.

2. Fill in the dialog with your desired name and click on the CREATE WORKSPACE
button. This will create the workspace and activate it.
In the main panel, you should see one empty row, where sessions will be housed,
and two empty columns, headed by Networks and``Tables`` respectively. These
columns will track all of the data that comes to live in this workspace.
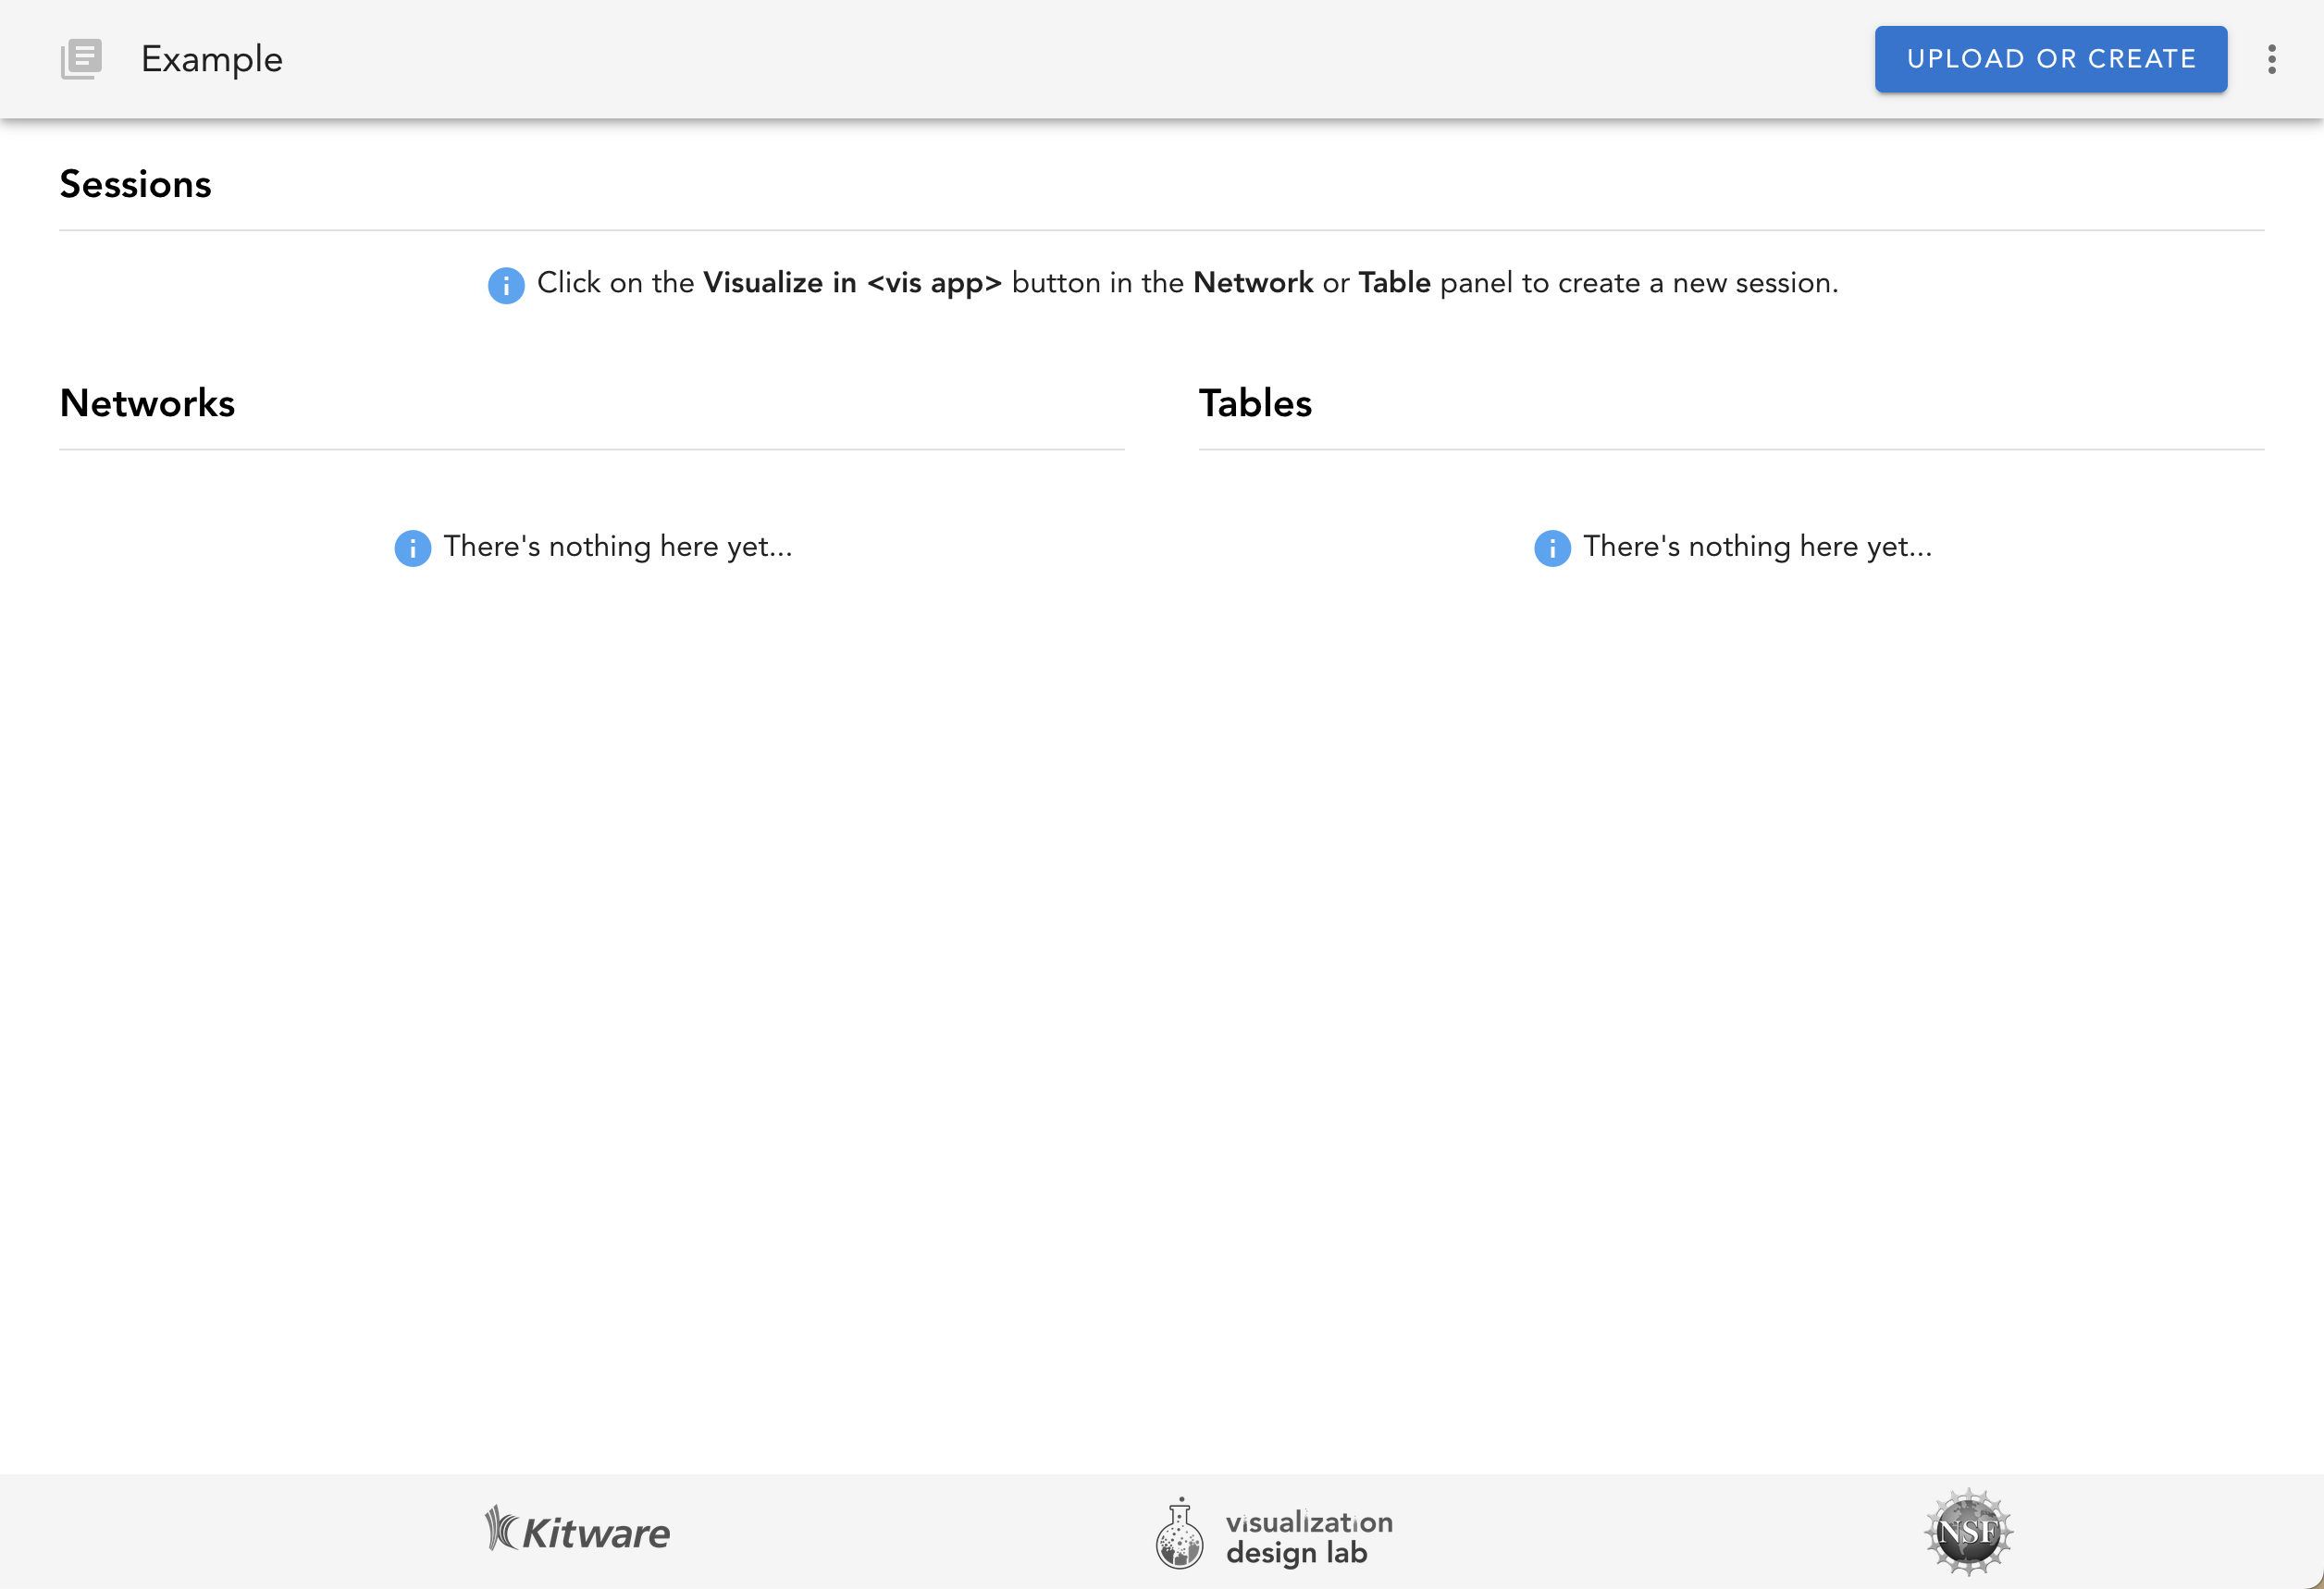
Additionally, the left sidebar will now show the workspace under the YOUR WORKSPACES
tab. You can click on workspaces in this list to switch between them.
Upload Data
Multinet supports several ways to upload data. You may upload a network file, upload a table file, or create a network from existing tables. We’ll cover each of these methods in following sections.
Upload Network
There are multiple ways to create a network in Multinet. The simplest way is to upload a network from a individual file, which we’ll cover here. If you’re looking to create a network from existing tables, see Create Network From Tables.
The first thing that you’ll need is a properly formatted network file. Multinet supports JSON network files. These network files are a similar format to the D3 network files, but can have different fields. For more information on the format of these files, see `File Formats`_.
To upload a network file,
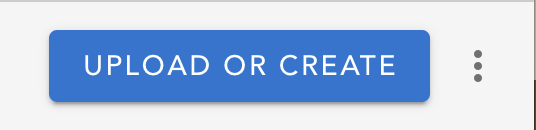
- Click the
UPLOAD OR CREATEbutton in the top right corner of the workspace
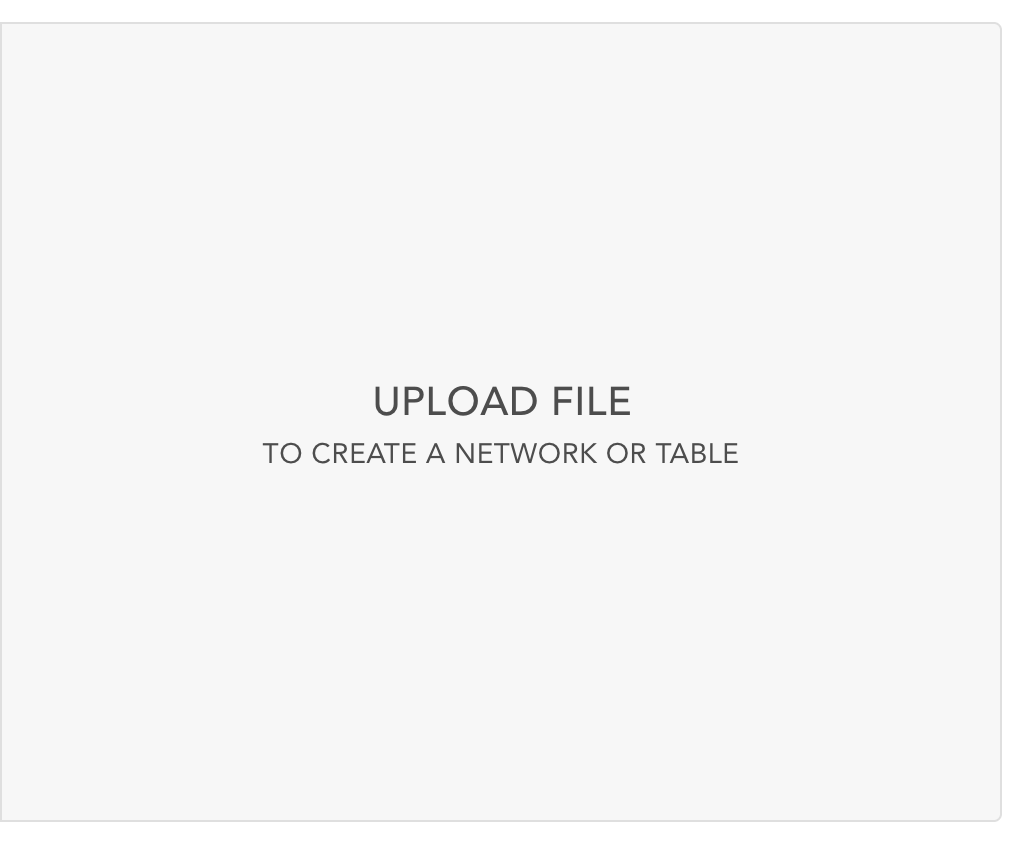
- Click the
UPLOAD FILEbutton in the dialog that appears.
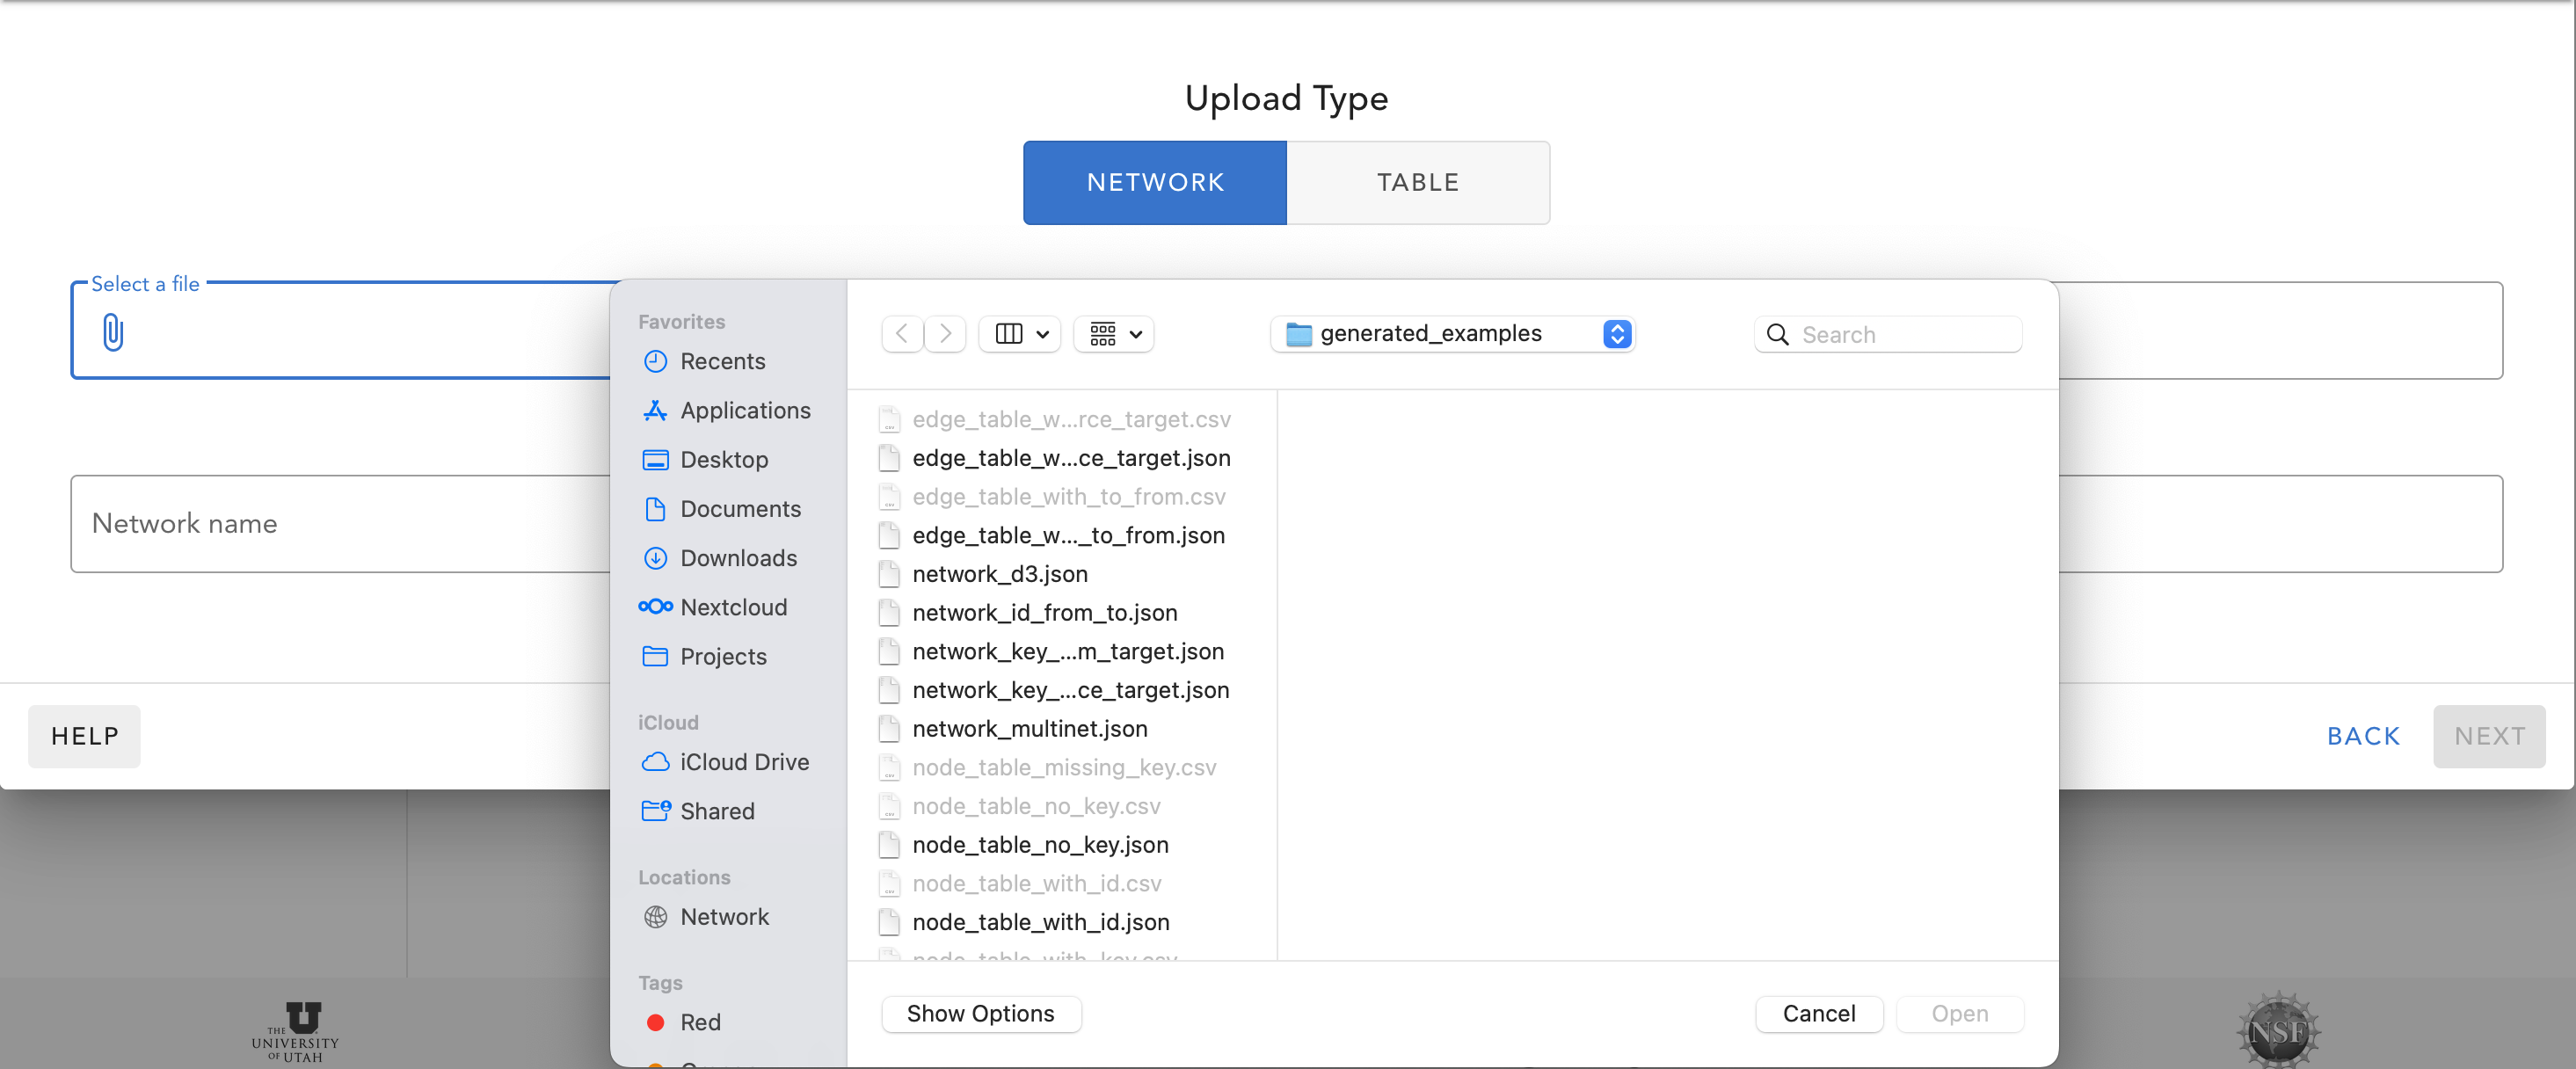
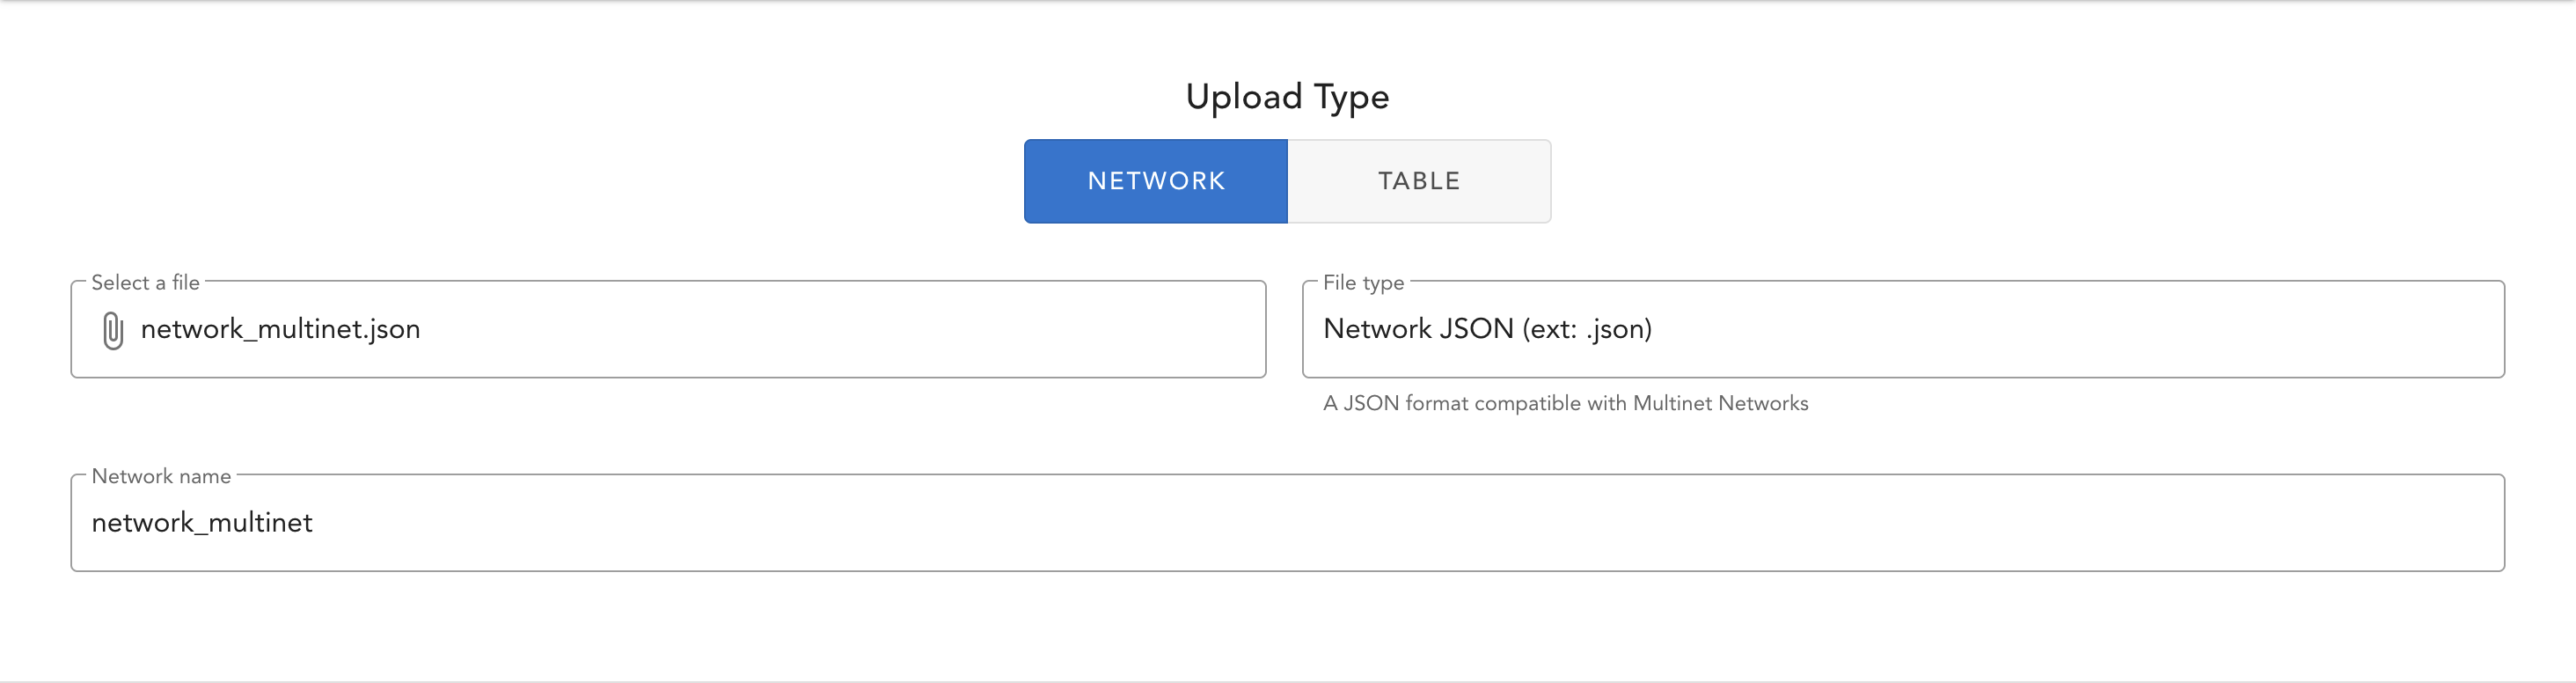
3. Select the button Network at the top of the dialog and click the Select a File
field. This will open a file selection dialog. Select the network file you wish
to upload.
4. This will fill in some of the fields in the dialog with some default values. You
can change these values if you wish. When you’re ready, click the NEXT button
in the bottom right corner of the dialog.
5. This will take you to the Set Column Types (Nodes) step. Here you can set the
types of the columns for the nodes in the network file. The default types are
inferred from the data in the file, but you can change them if you wish. When
you’re ready, click the NEXT button in the bottom right corner of the dialog.
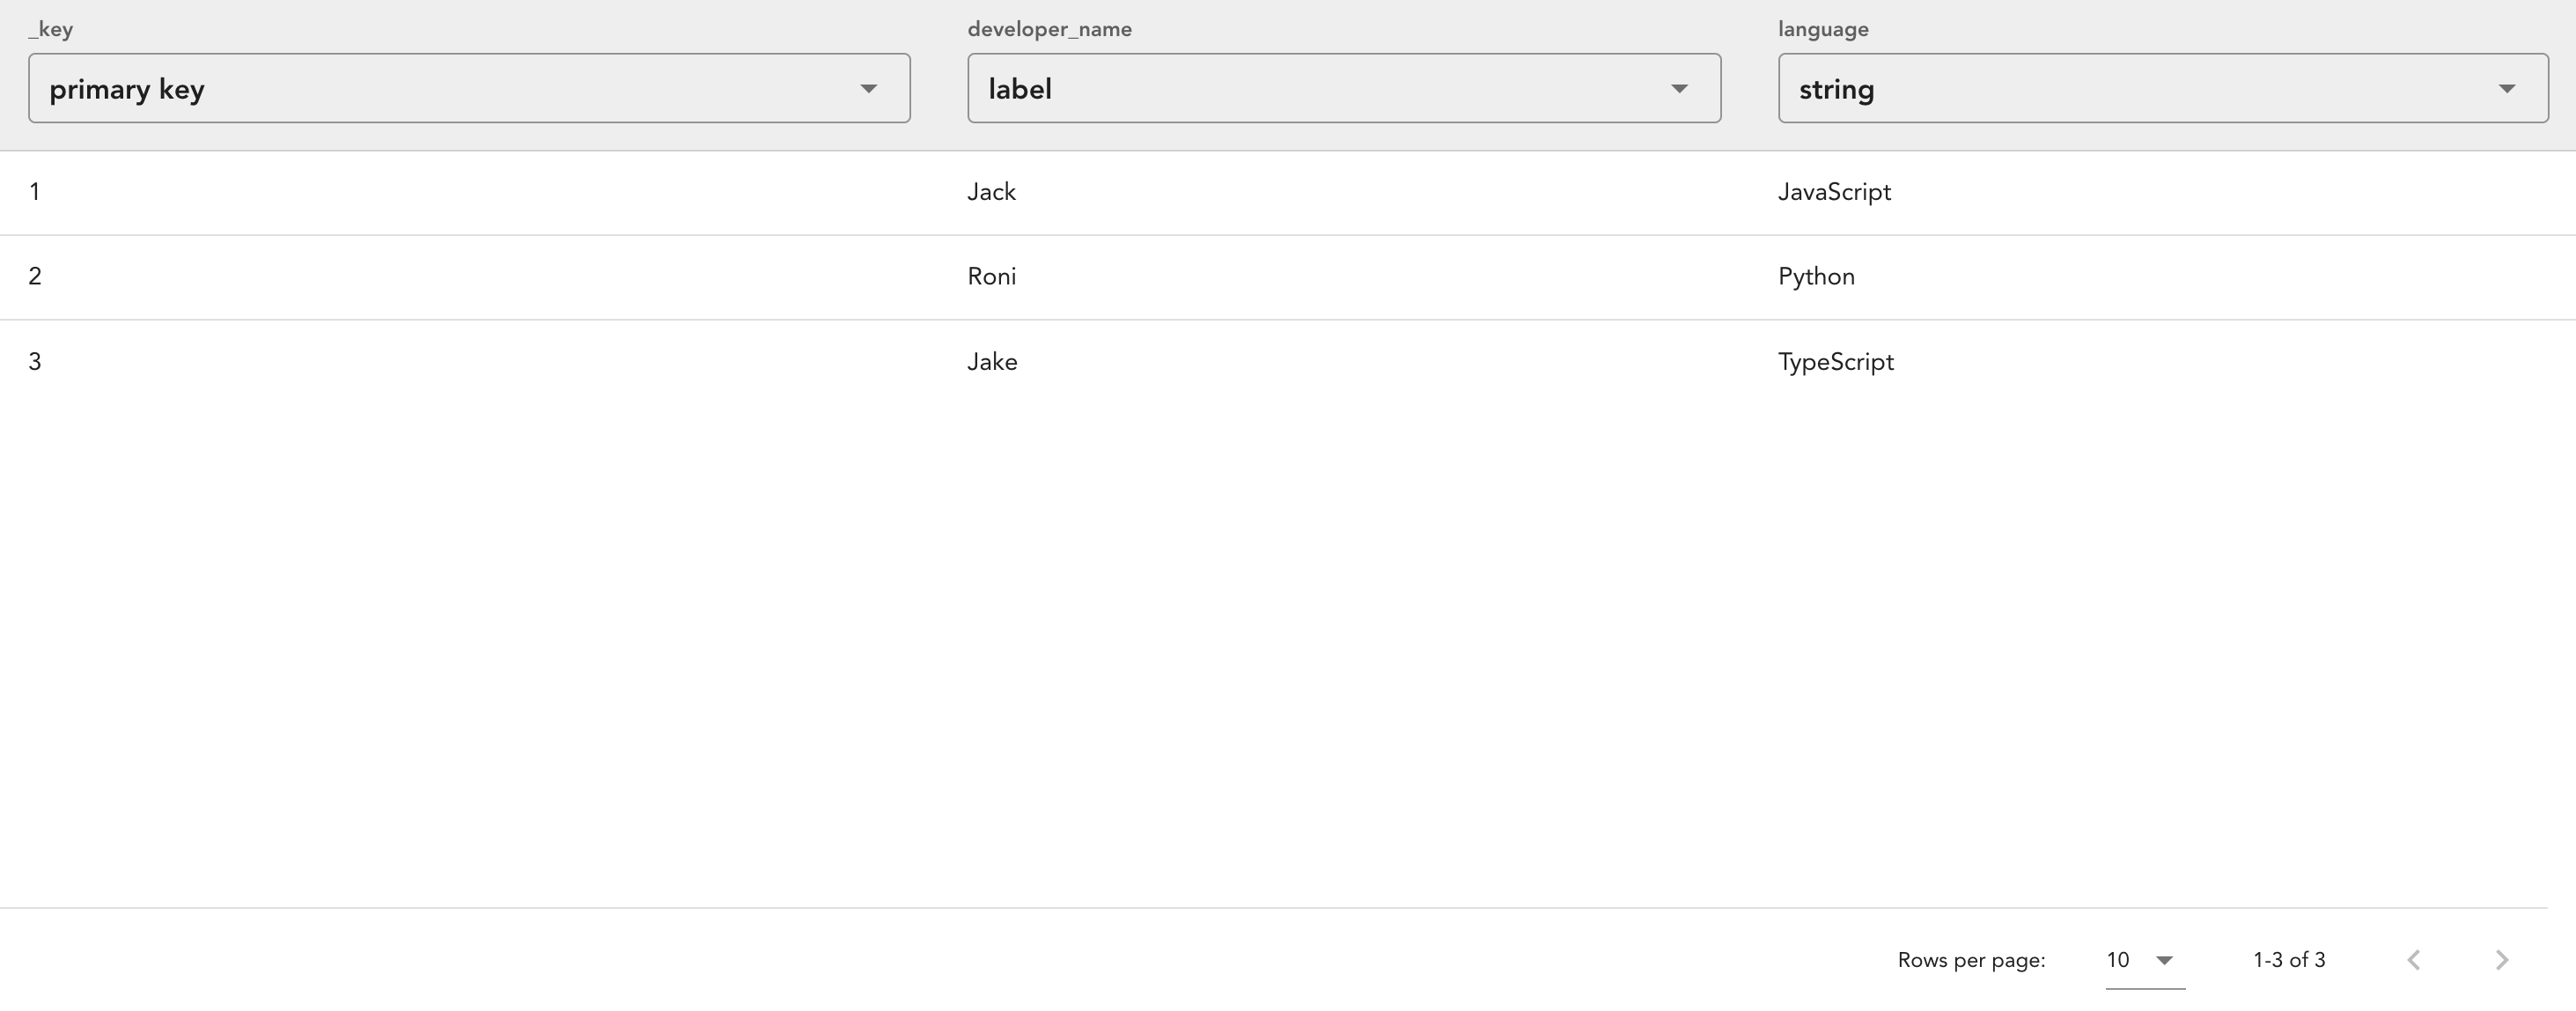
6. This will take you to the Set Column Types (Edges) step. Here you can set the
types of the columns for the edges in the network file. The default types are
inferred from the data in the file, but you can change them if you wish. When
you’re ready, click the UPLOAD button in the bottom right corner of the dialog.

This will upload the network file to the workspace. You should see a new row
appear in the Networks column of the workspace. This row will have the name
of the network file you uploaded. Clicking on this row will open the network
in the main panel. Additionally, you will see 2 new rows appear in the Tables
column of the workspace. These rows will have the names <network_name>_nodes
and <network_name>_edges. These are the tables that hold the data for the
network. Clicking on these rows will open the tables in the main panel.

Upload Table
Data in multinet is stored in tables. The most direct way to add a table is to upload a table file. Multinet supports CSV and JSON table files. For more information on the format of these files, see `File Formats`_.
To upload a table file,
- Click the
UPLOAD OR CREATEbutton in the top right corner of the workspace
- Click the
UPLOAD FILEbutton in the dialog that appears.
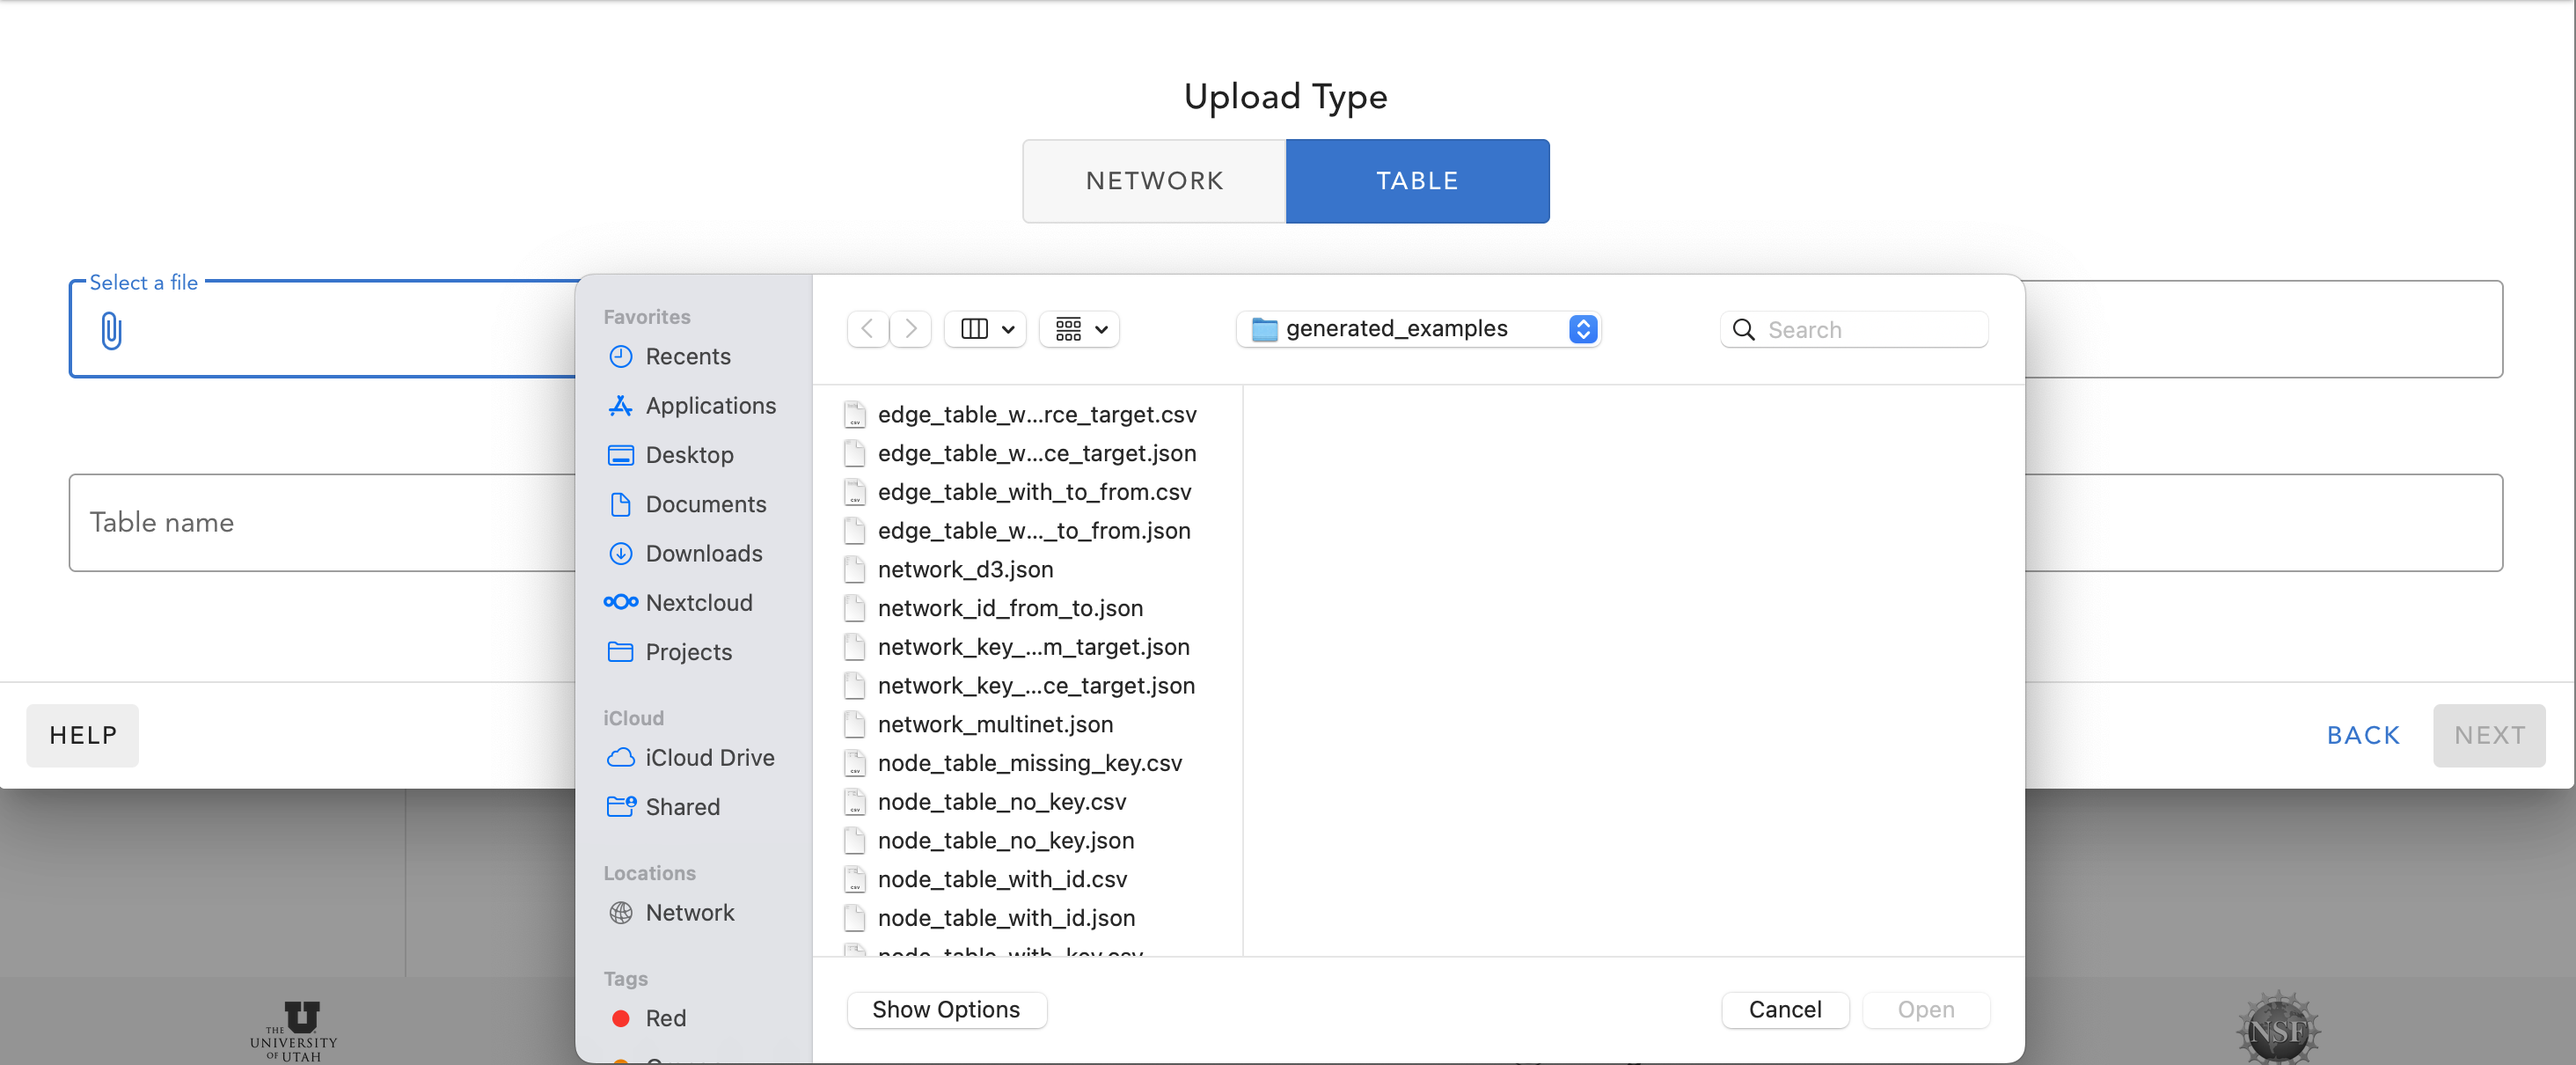
3. Select the button Table at the top of the dialog and click the Select a File
field. This will open a file selection dialog. Select the table file you wish
to upload.
4. This will fill in some of the fields in the dialog with some default values. You
can change these values if you wish. When you’re ready, click the NEXT button
in the bottom right corner of the dialog.

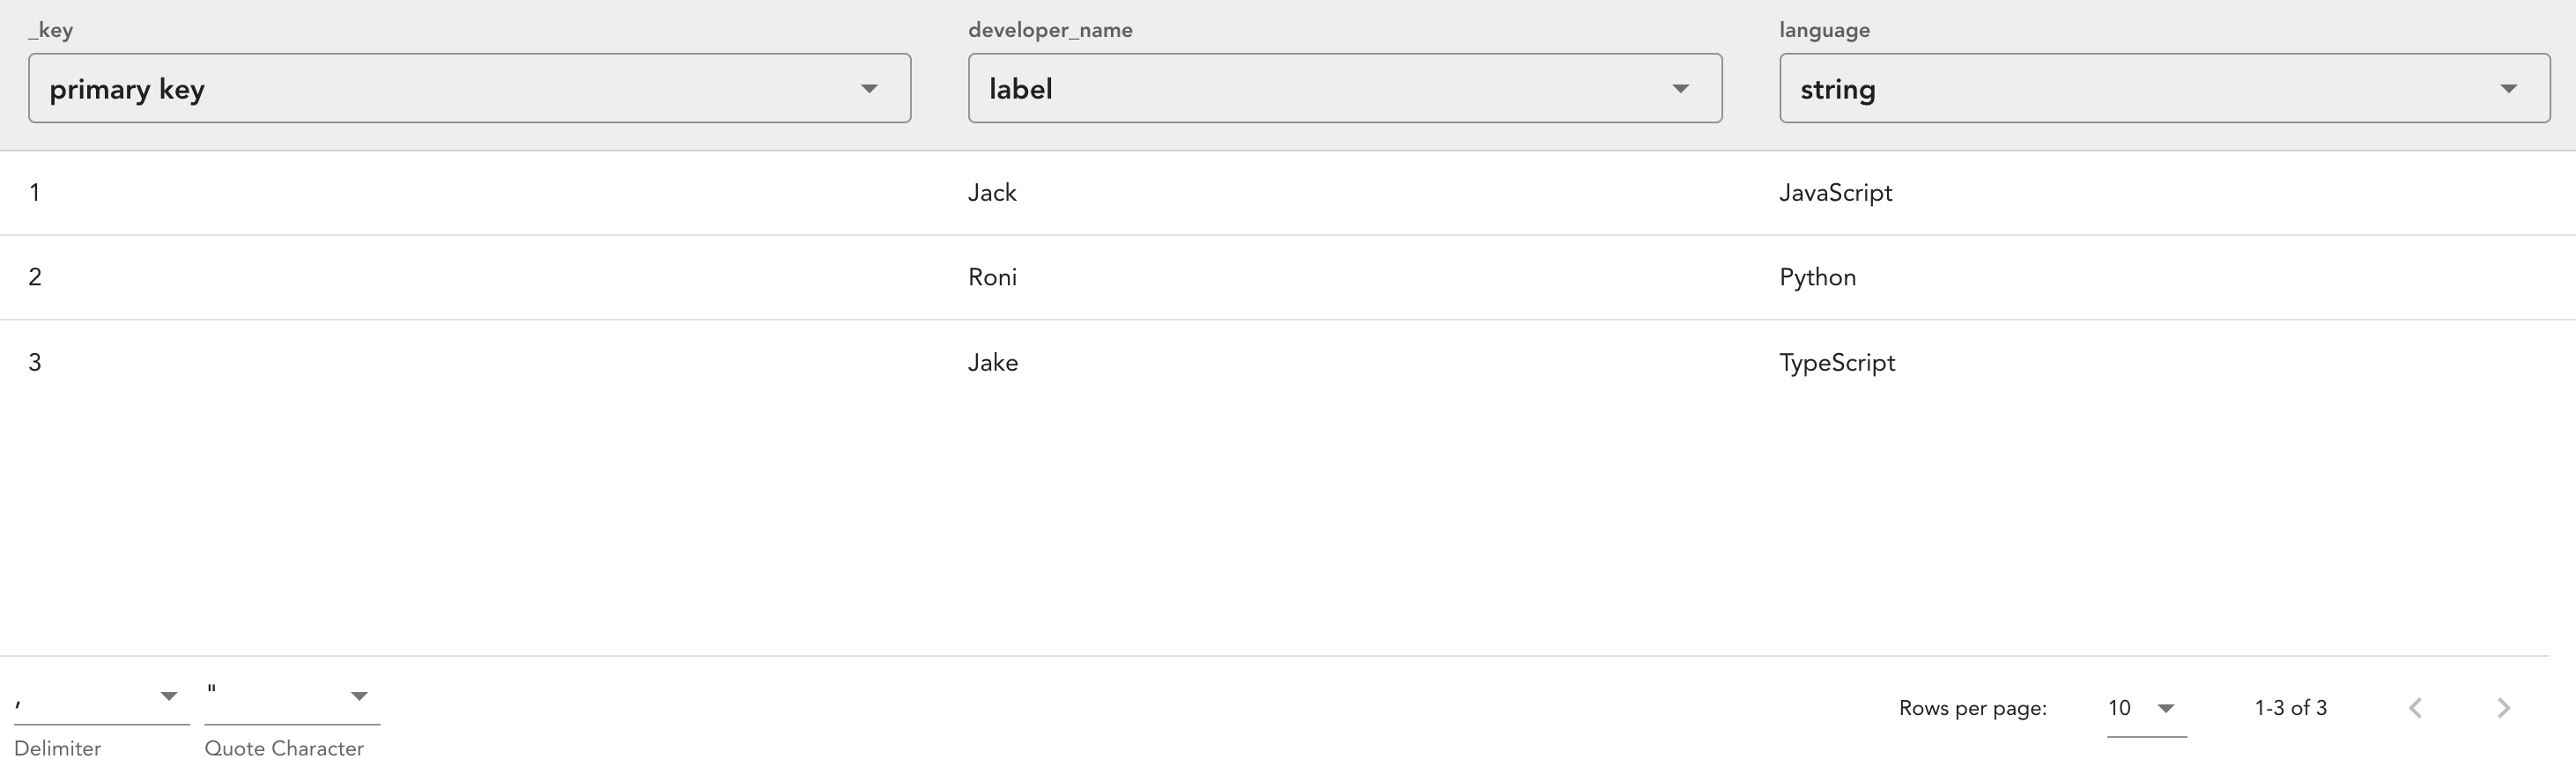
5. This will take you to the Set Column Types step. Here you can set the
types of the columns in the table file. The default types are inferred from the
data in the file, but you can change them if you wish. When you’re ready, click
the UPLOAD button in the bottom right corner of the dialog.
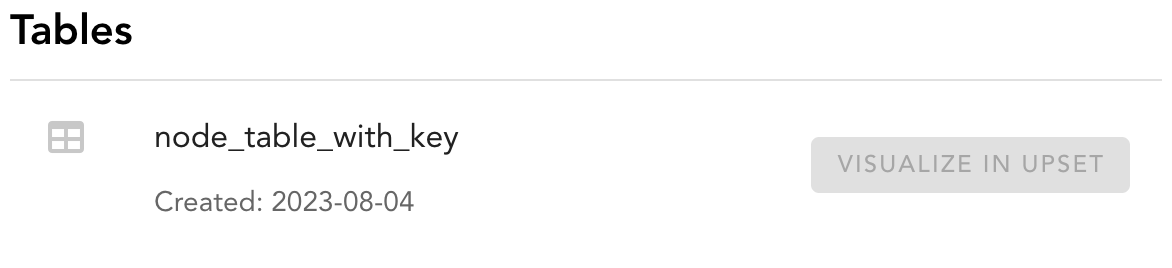
This will upload the table file to the workspace. You should see a new row
appear in the Tables column of the workspace. This row will have the name
of the table file you uploaded. Clicking on this row will open the table
in the main panel.
Create Network From Tables
There are multiple ways to create a network in Multinet. We’ll be covering the more advanced way in this tutorial. For a simpler way, see upload_network.
Open A Vis App
Opening a vis app is very simple. First go to the workspace with the table/network
you want to visualize. Then click the OPEN IN <vis_app> button on the row
of the table/network you want to visualize.
Create A Session
Sessions are used to save the state of a vis app so that you can come back to it later or share it with others. Sessions are automatically created when you open a vis app, and update automatically as you interact with the vis app. To view your sessions, simply look at the sessions row in the workspace panel.
Delete A Session
To delete a session, click the DELETE button in the top right corner of the
session.

Permissions
Managing permissions can be done at the workspace level. This means that you
can manage the permissions of all the tables and networks in a workspace at
once. Permissions can be managed by any user who has Maintainer Permissions
on the workspace. The specifics of handling permissions are covered in the
following sections.
Open The Permissions Dialog
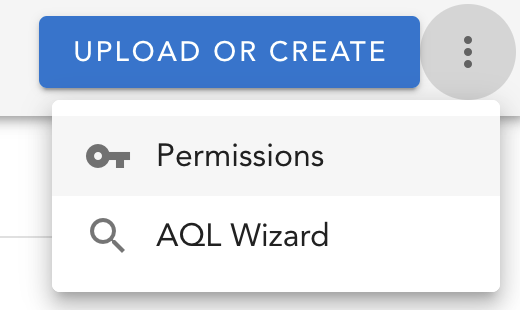
To manage the permissions of a workspace, first click the meatball menu in the
top right corner of the workspace and select Permissions.
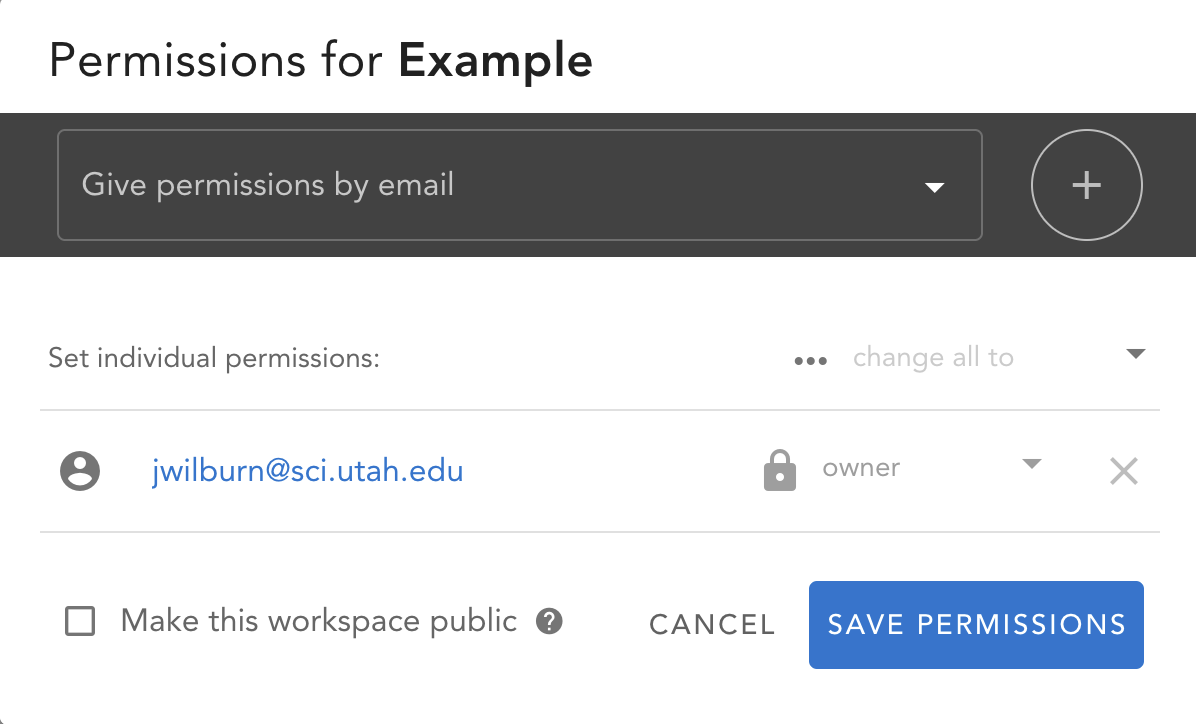
This will open the Workspace Permissions dialog.
Add and remove users
First follow the steps in Open The Permissions Dialog.
In the permissions dialog, you can add and remove users from the workspace.
To add a user, type their username into the Give permissions by email field
and click the ADD button. To remove a user, click the REMOVE button
next to their email. When you’re done, click the SAVE PERMISSIONS button.
Manage user permissions levels
First follow the steps in Open The Permissions Dialog.
In the permissions dialog, you can change the permissions level of a user.
To change the permissions level of a user, click the dropdown next to their
email and select the permissions level you wish to give them. When you’re done,
click the SAVE PERMISSIONS button.
Make the workspace public or private
First follow the steps in Open The Permissions Dialog.
In the permissions dialog, you can make the workspace public or private. To
make the workspace public, fill in the Make this workspace public checkbox
and click the SAVE PERMISSIONS button. To make the workspace private,
uncheck the Make this workspace public checkbox and click the
SAVE PERMISSIONS button.